Environment Variables
Note
You are free to use any combination of setting and accessing environment variables that you prefer. You must just ensure that the environment variables are set before you run the script that uses them, and that the environment variables are accessible from the script that uses them.
Python
defined using os.environ
In Python, you can define environment variables using the os.environ
dictionary. The following code snippet demonstrates how to define an
environment variable named VAR in Python:
import os

os.environ["VAR"] = "value"
Warning
This is not a recommended way to define environment variables for sensitive information such as API keys. This method is not secure, as the environment variables are stored in plain text in the Python script.
defined using python-dotenv
An alternative, more secure way to define environment variables in Python
is to use the python-dotenv library. This library allows you to define
environment variables in a .env file and load them into your Python
script.
-
Install the
python-dotenvlibrary usingpip:pip install python-dotenv -
Create a
.envfile in the same directory as your Python script and define the environment variables in the following format:VAR=value -
Load the environment variables into your Python script using the
load_dotenvfunction:from dotenv import load_dotenv load_dotenv()
retrieved using os.environ.get
Following the definition of environment variables, you can access them in
your Python script using the os.environ.get function.
import os

my_variable = os.environ.get("VAR",
                             None)  # Returns None if VAR is not set
if my_variable:
    # Use my_variable in your script
    print("VAR is set to:", my_variable)
else:
    # VAR is not set, handle the error appropriately
    print("VAR is not set.")
C++
defined using setenv
In C++, you can define environment variables using the setenv function.
#include <stdlib.h>

setenv("VAR", "value", 1);  // 1 indicates that the variable is overwritten if it already exists
                                    // 0 indicates that the variable is not overwritten if it already exists
retrieved using getenv
Following the definition of environment variables, you can access them in
your C++ script using the getenv function.
#include <stdlib.h>

char* my_variable = getenv("VAR");

if (my_variable) {
    // Use my_variable in your script
    std::cout << "VAR is set to: " << my_variable << std::endl;
} else {
    // VAR is not set, handle the error appropriately
    std::cout << "VAR is not set." << std::endl;
}
Unix (Linux, macOS)
defined using export
In Unix-based systems, environment variables can be defined temporarily
in the current terminal session using the export keyword. This can also
be done within a Bash script (.sh).
export VAR="value"
defined in ~/.bashrc
In Unix-based systems, environment variables can be defined persistently
across terminal sessions by adding the export statements to your shell
profile file.
- Open your shell profile file using a text editor (
e.g.
nano ~/.bashrc). - Add the
exportstatements to the file (preferably at the end). - Save the file and close the text editor.
- Restart your terminal session.
-
Verify that the environment variables are set by running the following command:
env | grep VAR
Note
If you are using zsh, you should use ~/.zshrc instead of ~/.bashrc.
retrieved using $VAR
Following the definition of environment variables, you can access them in
your Bash script using the $VAR syntax.
if [ -n "$VAR" ]; then
    # Use $VAR in your script
    echo "VAR is set to: $VAR"
else
    # VAR is not set, handle the error appropriately
    echo "VAR is not set."
fi
Windows
defined using set
In Windows, environment variables can be defined temporarily in the
current terminal session using the set keyword. This can also be done
within a Batch script (.bat).
set VAR=value
defined using setx
In Windows, environment variables can be defined persistently across
terminal sessions by adding the setx statements to your system
environment variables.
- Open the "System Properties" window by pressing
Windows + Pause/Breakon your keyboard. - Click "Advanced system settings" on the left.
- Click "Environment Variables" on the bottom right.
- Click "New" under "System variables" and add the environment variables.
- Click "OK" to save the changes.
- Restart your terminal session.
-
Verify that the environment variables are set by running the following command:
set | findstr VAR
retrieved using %VAR%
Following the definition of environment variables, you can access them in
your Batch script using the %VAR% syntax.
if defined VAR (
    rem Use %VAR% in your script
    echo VAR is set to: %VAR%
) else (
    rem VAR is not set, handle the error appropriately
    echo VAR is not set.
)
Azure Pipelines
Note
This section is intended for maintainers of the feedstock repositories (at current). If you are not a maintainer, you can safely ignore this section.
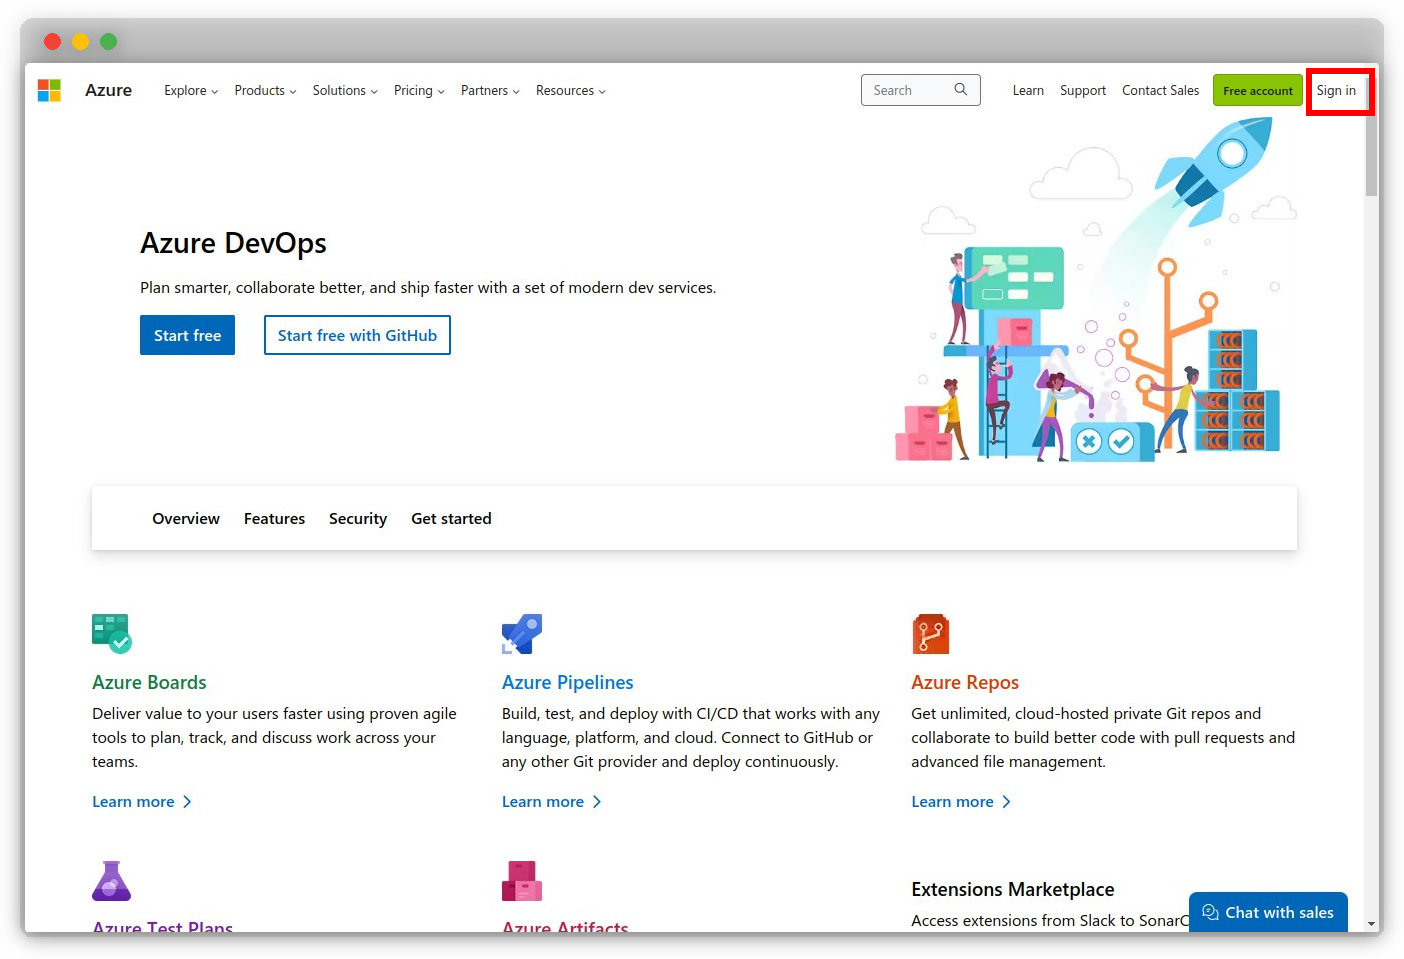
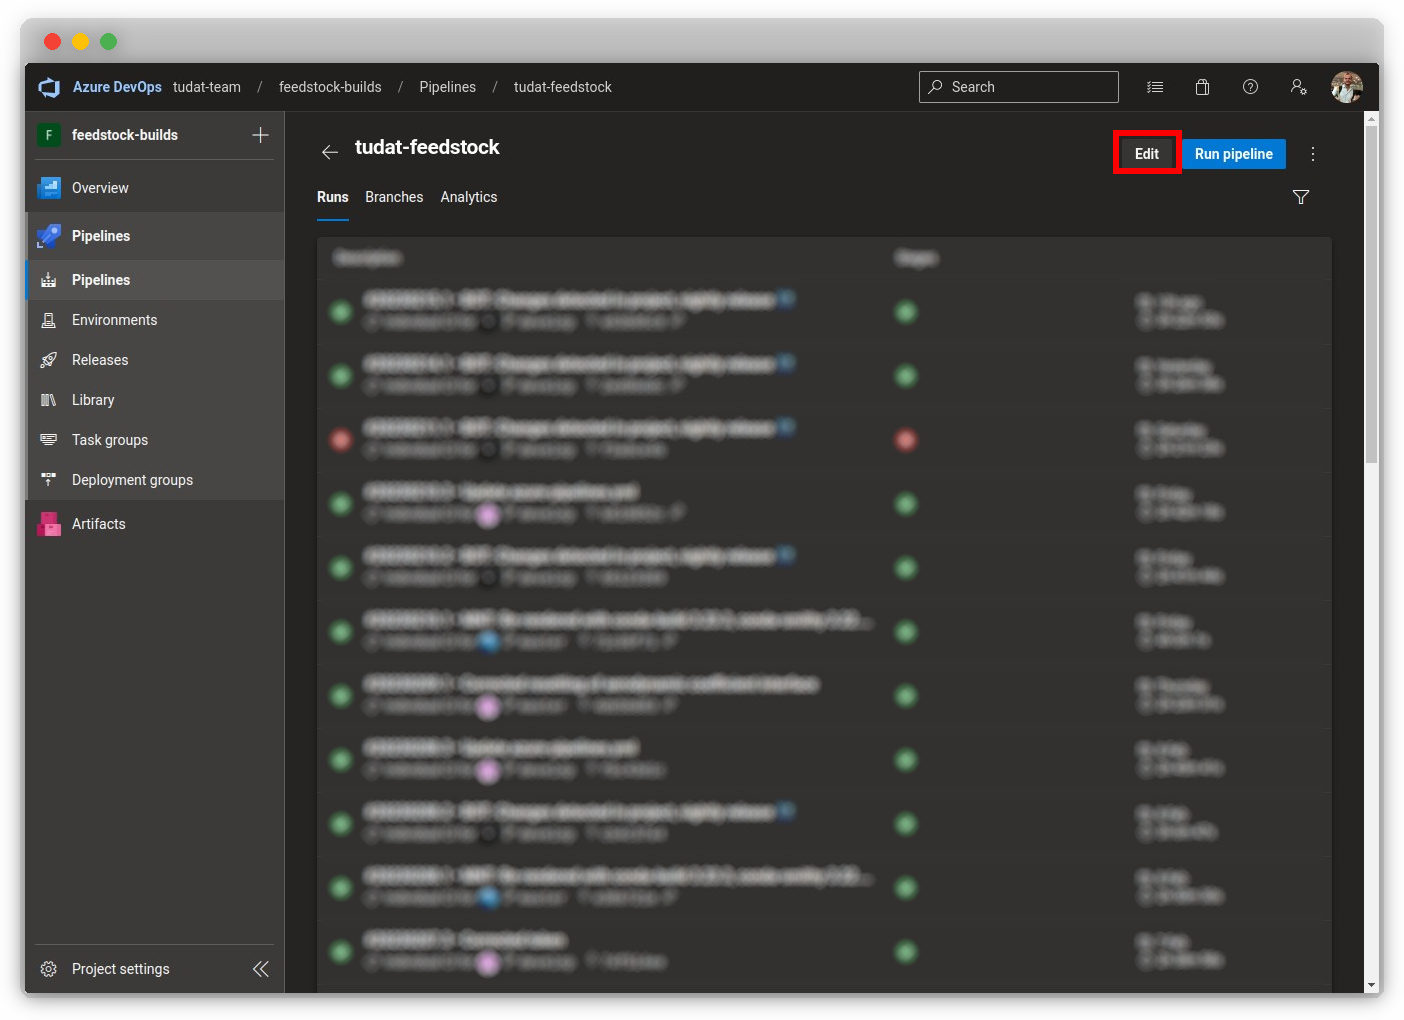
- Navigate to
dev.azure.comand sign in.
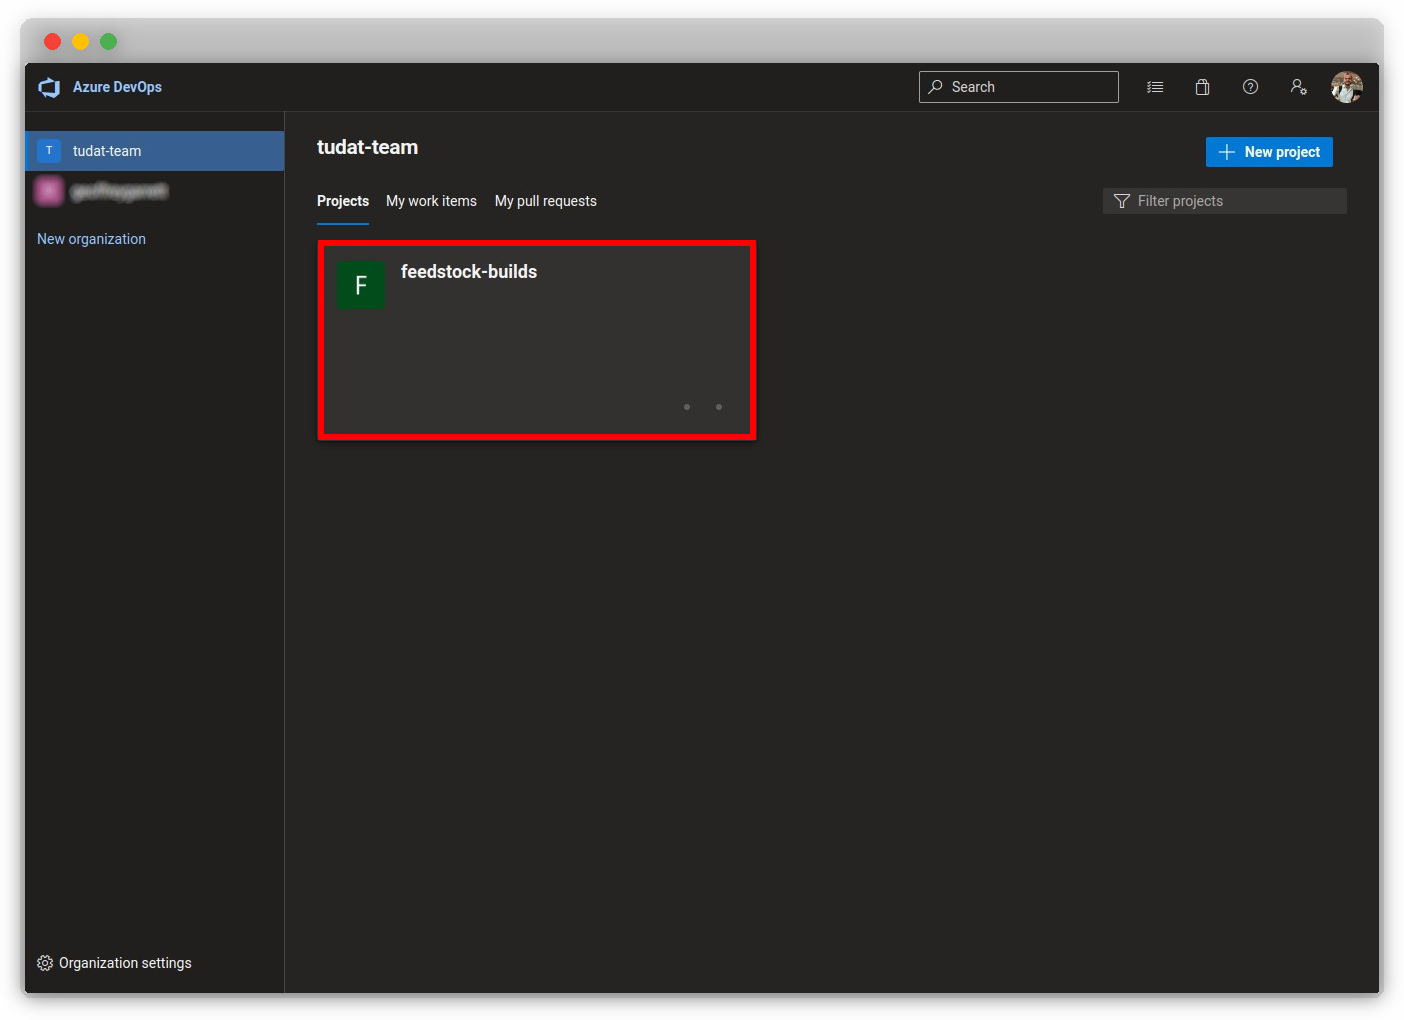
- Click the
feedstock-buildsproject under thetudat-teamorganization.
defined for a pipeline
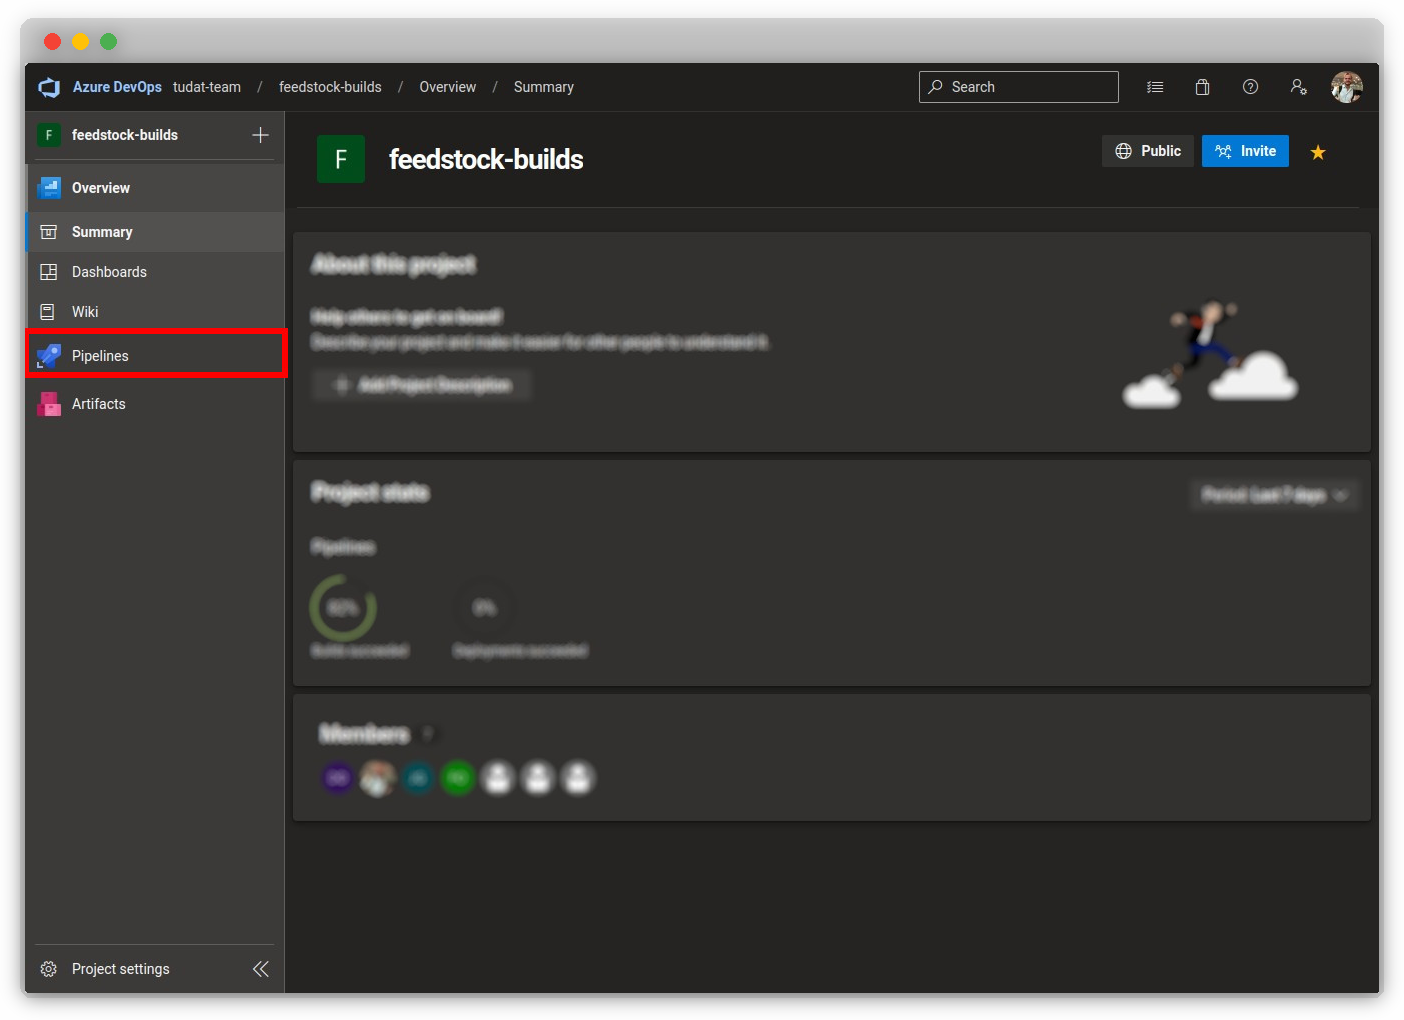
- After navigating to the project, click "
Pipelines" under the
feedstock-buildsproject.
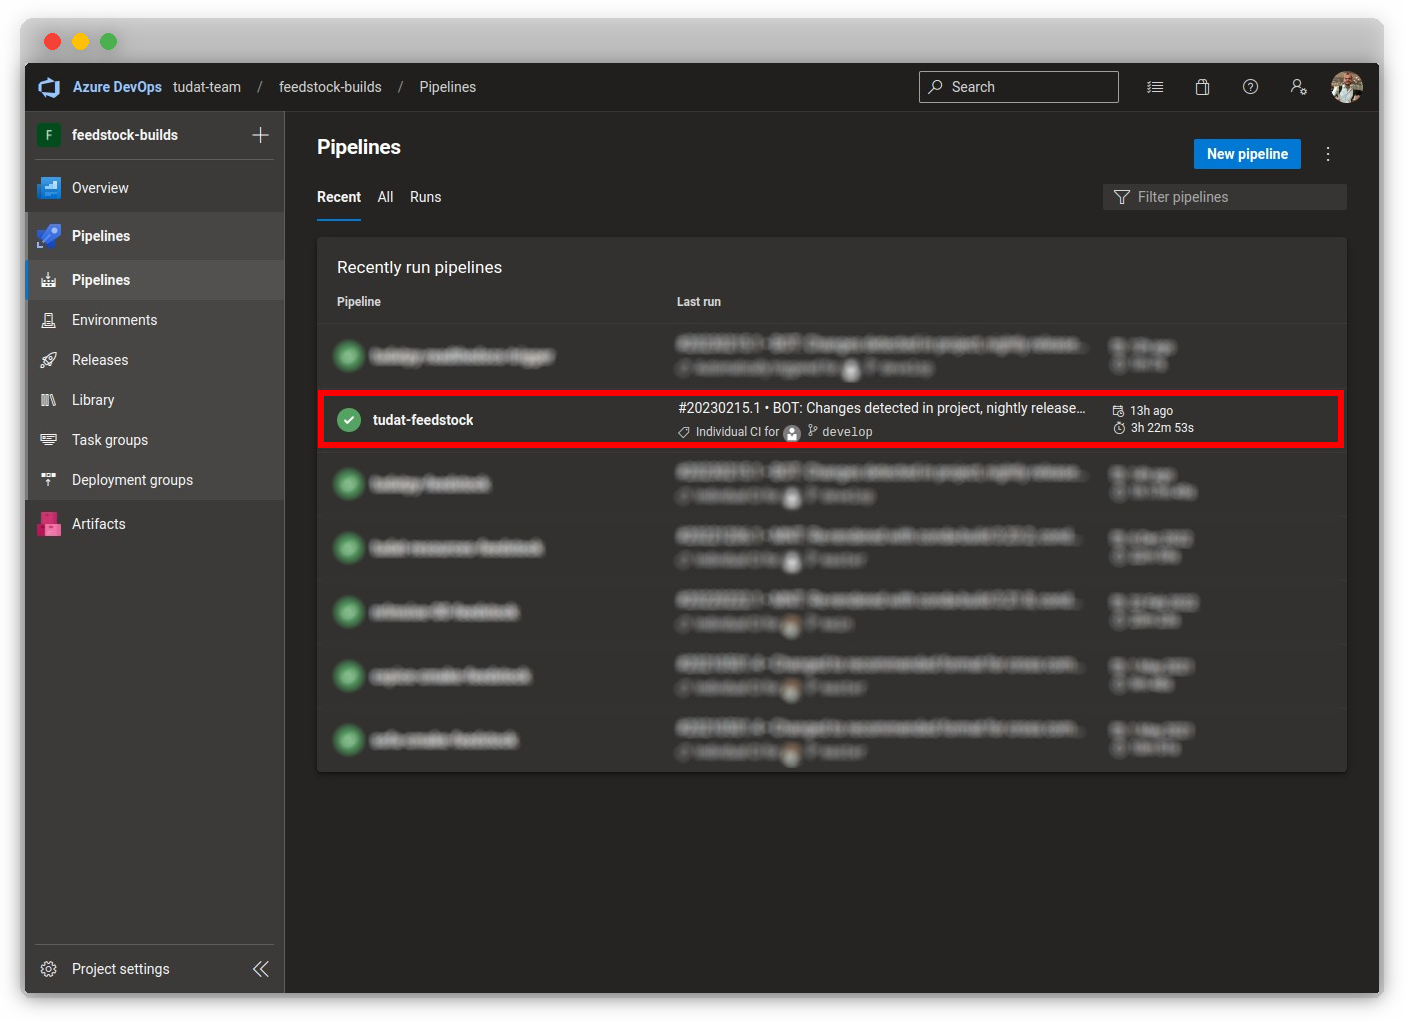
- Click on the specific pipeline in which you want to set the environment
variable (e.g.
tudat-feedstock).
- Click "Edit" in the top-right of the page.
- Click "Variables" in the top-right of the page.

- Update an existing token (e.g.
BINSTAR_TOKEN), or create a new one with the+icon.
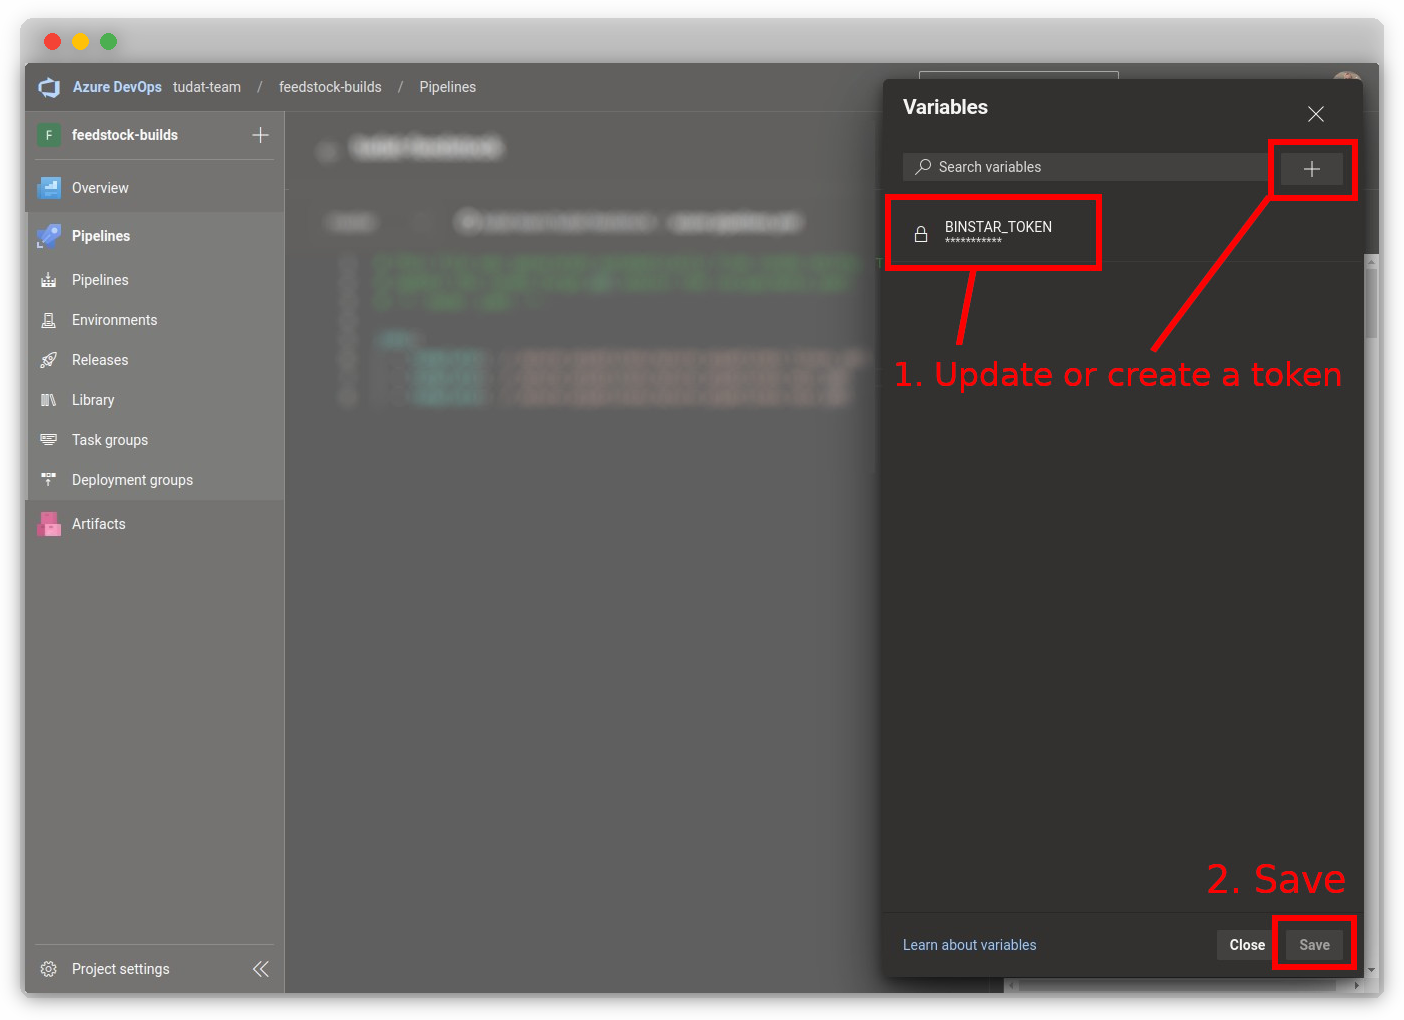
!!! note It is crucial to keep the environment variables private and secure. Ensure that you do not share them or commit them to a public repository, as this could lead to security issues.
defined across all pipelines
Failure
This section is the desired way of defining environment variables in
Azure. However, it is currently not possible to define environment
variables in an Azure project due to conda-smithy overwriting the
pipeline.yaml. This is a known issue, and we are working on a solution.
In the meantime, please use the method described in the previous section.
This section therefore exists for future reference.
- After navigating to the project, click "
Library" under the
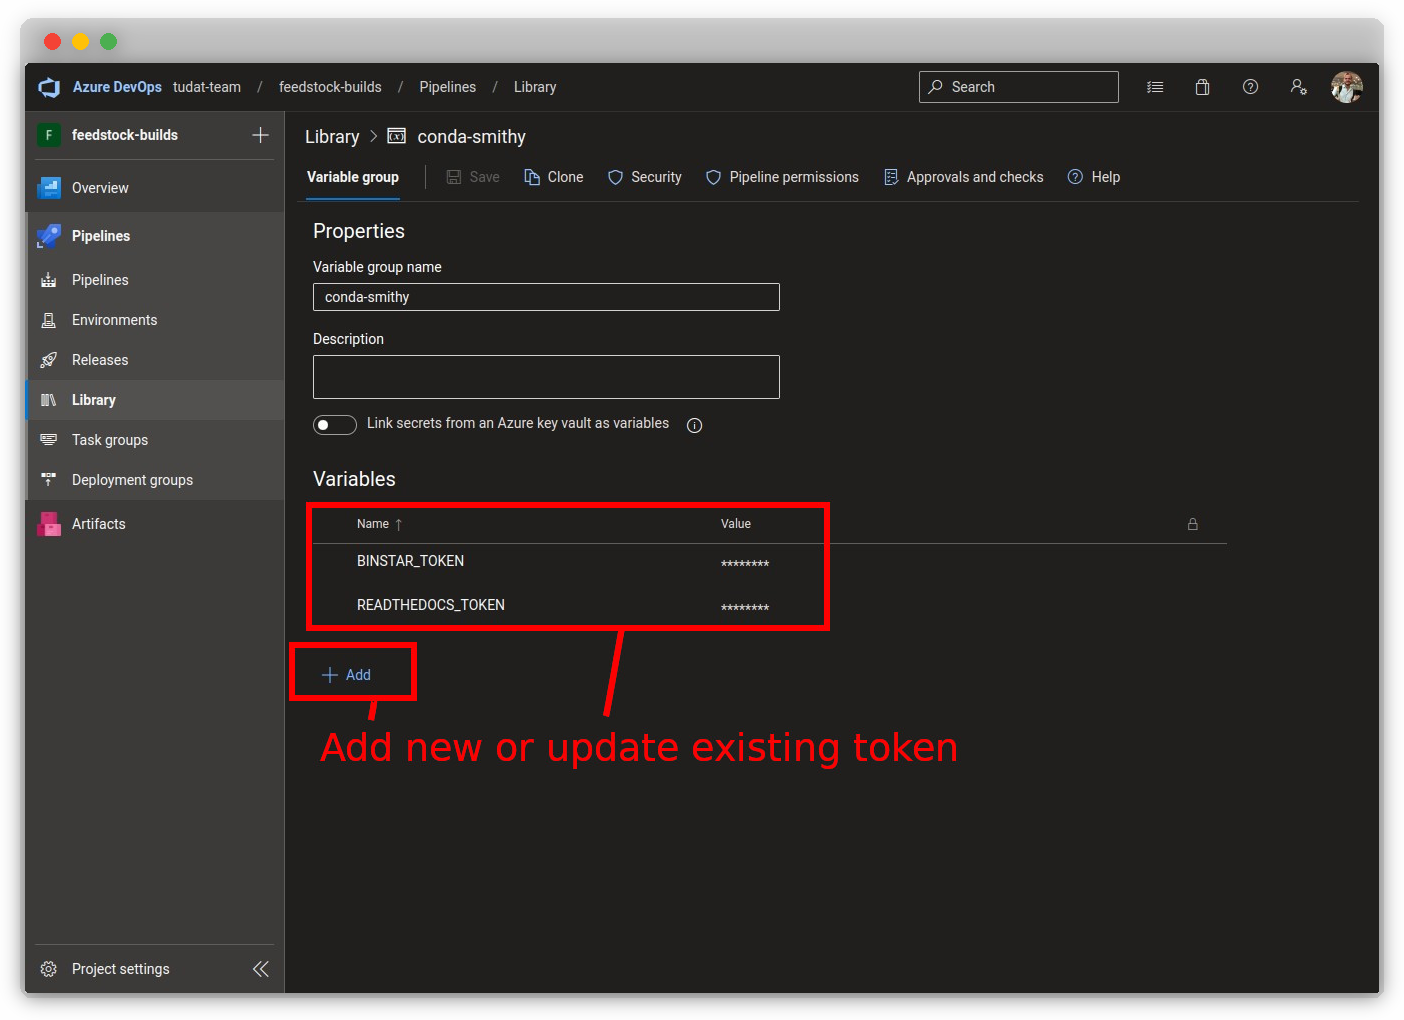
feedstock-buildsproject and select the target " variable group".
- Add a new variable by clicking
+ Addor edit an existing one by clicking the name of value of the variable.
-
Make the variable group available by adding the following lines to the
pipeline.yamlfile in the root of the feedstock repository.variables: - group: <variable_group_name>
!!! note
The <variable_group_name> should be the name of the variable group you
created in step 1.
!!! failure
As mentioned, this will be overwritten by conda-smithy. It was
expected that by adding:
```yaml
azure:
variables:
  - group: <variable_group_name>
```
to the `conda-forge.yml` file, the `pipeline.yaml` would be updated accordingly, as [hinted at here](https://conda-forge.org/docs/maintainer/conda_forge_yml.html#azure). However, this is not the case. We are working on a solution.